Manual Tools
Creating Annotations
Our users can use Datature's Annotator to create annotations on images that they have uploaded onto the platform. To use them, they can be found on the Annotation Toolbar. Certain annotation tools are only accessible in some paid tiers, so to better understand which tiers will have access to different tools, check Plans and Pricing.
What are the Different Types of Annotations?
We support a wide range of annotation modes so that our users can choose the annotation modes that are most suited for their projects, such as:
| Image/Video/DICOM/NIFTI |
|---|
| Polygon |
| Bounding Box |
| Paintbrush |
| Freedraw |
| Classification |
| Keypoint Skeleton |
For a step-by-step guide on how to use our Annotator to create annotations for your images - reference Annotator Controls.
How Do I Get Started with Annotating?
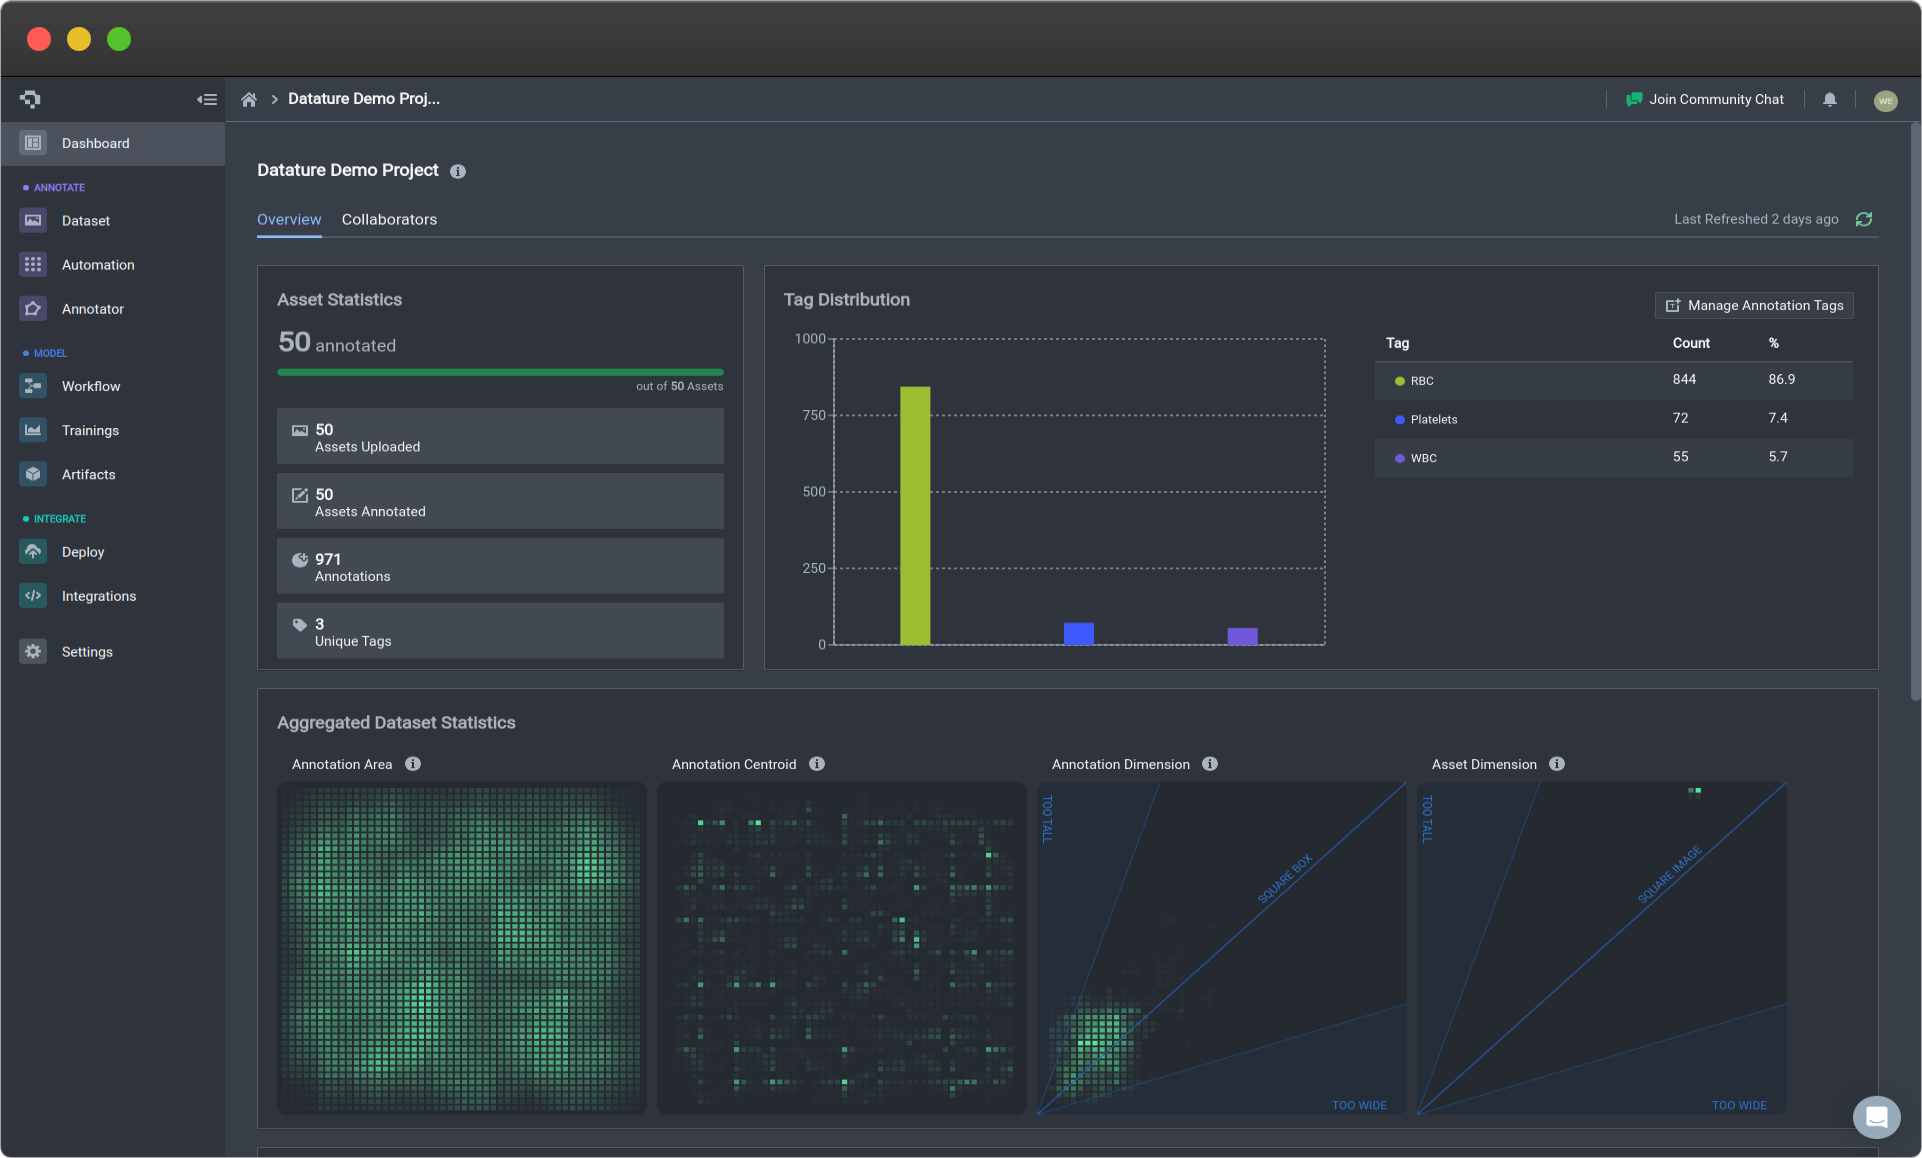
To skip the guide and start annotating images for your project, simply click on Annotator in the left navigation bar of your project.

Project Dashboard Page (Click image to enlarge)
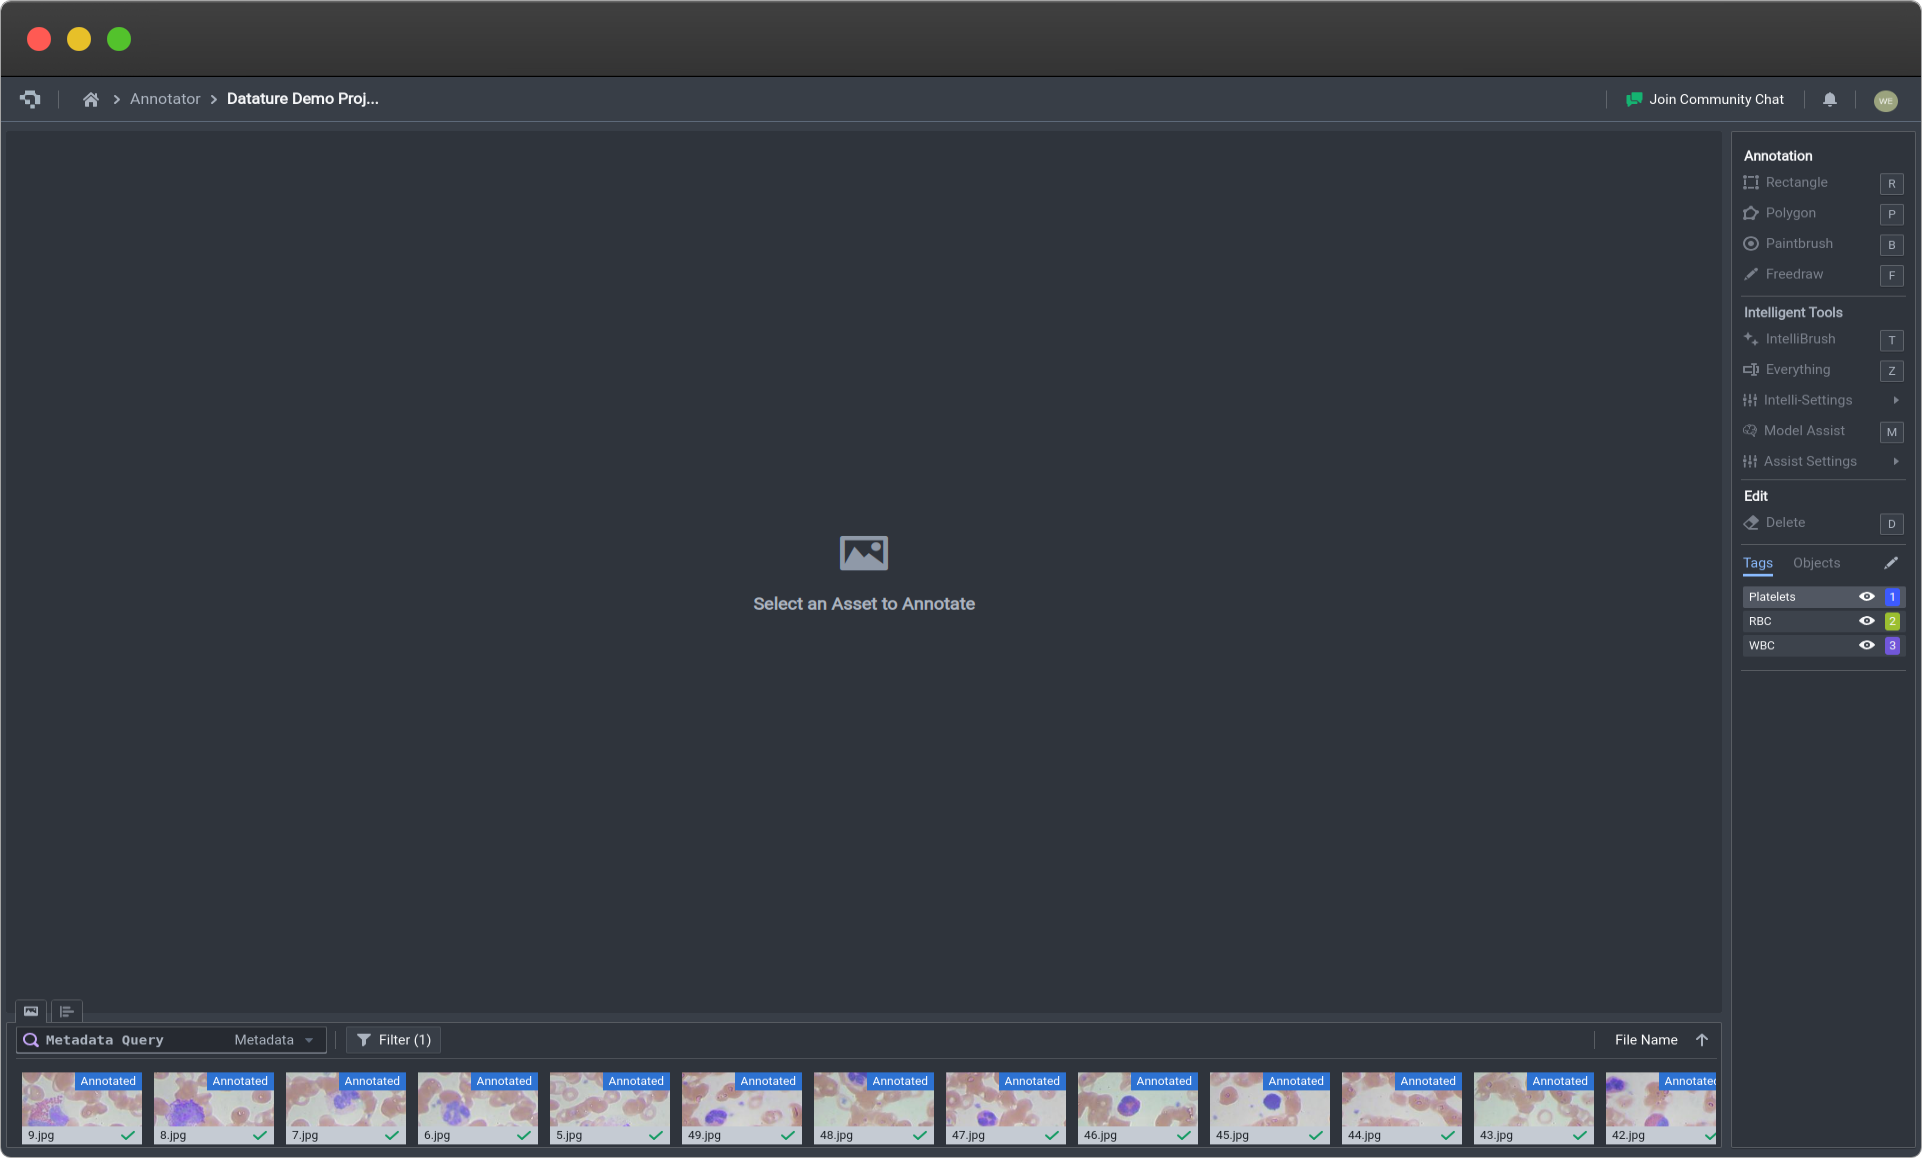
The annotation page will look like the image below. If you have previously uploaded annotations, you will be able to see those annotations on this screen.

Annotator (Click image to enlarge)
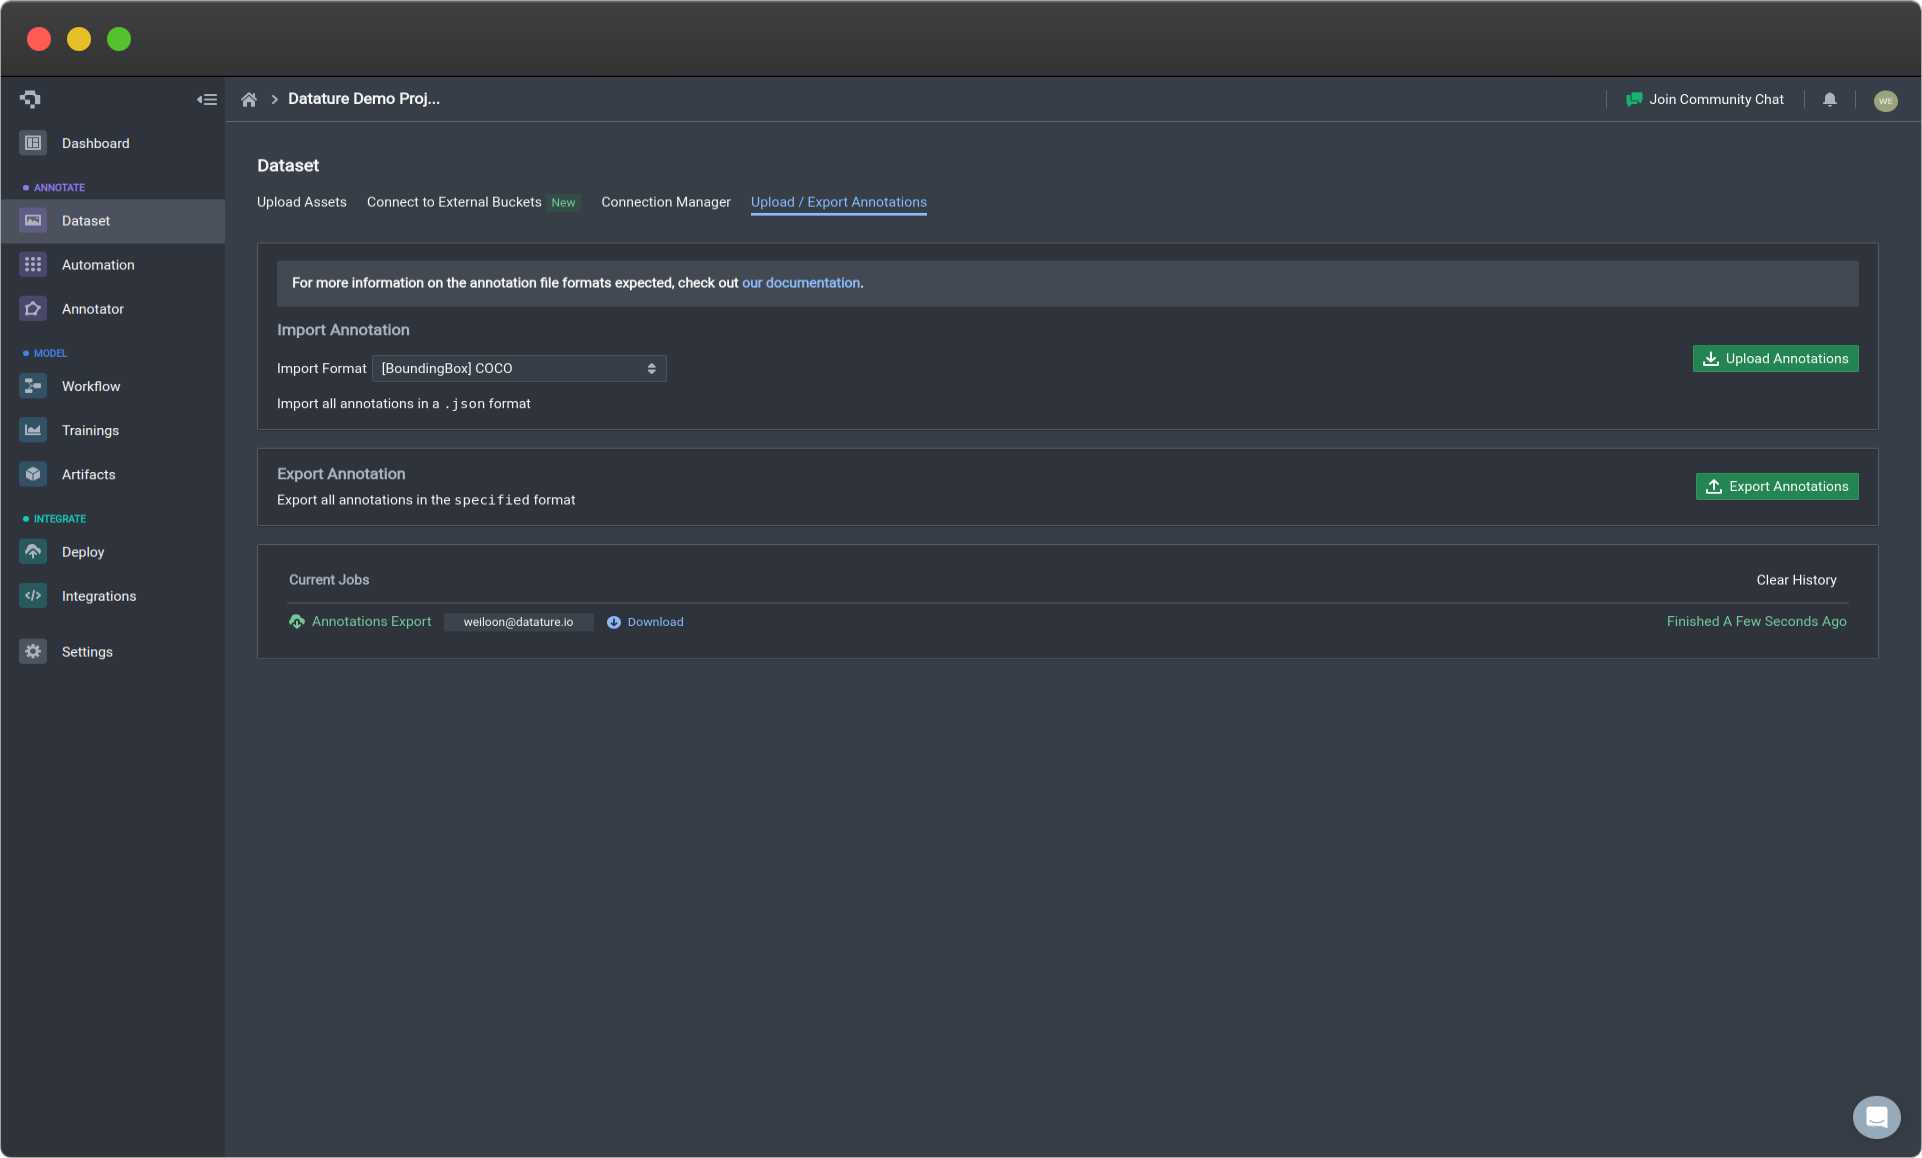
You can also upload and export annotations in the Annotations tab from the main page. To see more about this, go to Uploading Annotations and Exporting Annotations.

Importing and Exporting Annotations (Click image to enlarge)
Our most popular annotation tool is IntelliBrush - a game-changing, AI-assisted labelling tool developed by Datature that can help you create pixel-perfect mask outlines by simply selecting regions that are in or out of interest. It's great with irregular shapes and saves our users a ton of time. Although IntelliBrush is a paid feature, all users have free trial access to this amazing tool, be sure to check it out!
General Annotation Controls
Changing Tags
All newly created annotations will be tagged under the currently selected tag. You can change which tag the annotation is associated with by selecting the correct tag in the Annotation Toolbar.
Deleting Annotations
To delete an annotation, click on Delete on the toolbar (or using the keybind D) to enter delete-mode, then click on the intended annotation(s). esc exits delete-mode. Alternatively, you can right-click and select Delete to delete the annotation.
Editing Annotations
To change the tag of an annotation, perform right-click on the desired annotation and click on the current tag name. A list of other tag names will appear, and clicking on any of the tag names in the list will change the tag of the desired annotation.
Duplicating Annotations
To duplicate an annotation, right-click on the desired annotation directly and then select Duplicate. This will create another annotation of the same size next to the original annotation. This is currently supported for bounding boxes.
Subtracting Annotations
This tool is useful when you have overlapping annotations and you want to resolve them by removing the overlapping areas from a polygon such that there is no longer any overlap. Contexts in which this might be useful is for semantic segmentation, in which there can only be one ground-truth class for each pixel. To use the Subtract tool, right-click the first polygon whose shape you want to preserve, and then select the second polygon whose overlapping area will be removed. You will see the second polygon's shape alter to no longer have overlap.
Updated 4 months ago