
Video Annotation
Video Recap
- Begin annotating your video by navigating to it on the Annotator - One can also select on the video from the Assets page, or find the video on the Image Selector.
- Annotate each frame using our annotation tools - To learn more about the possible Annotation Tools, you can learn more with the link.
- Use our video navigation tools to annotate other frames - We provide several ways to navigate between frames, from the arrow keys on the bottom left, selecting specific frames on the video scrubber, or using the hotkeys
QandEfor backwards and forwards respectively. - Check the timeline to see where annotations of individual classes are made - The timeline can be found at the bottom of the annotator. Each class with an annotation on the video will have its own bar, where the corresponding line indicates which frames have annotations of that class.
- Select the bottom right button for video settings - The settings will contain video settings such as playback speed and zoom on the timeline.
Video Tools in the Annotator
Timeline
The timeline is the new horizontal block that appears at the bottom of the annotator when annotating a video. It replaces the Image Selector, but one can toggle between the two menus by selecting between the two buttons at the top left of the horizontal block.

The timeline is used to navigate between frames and also provide a visual representation of the frames in the video. The left and right arrows and play button can be found at the top left of the timeline, to navigate between adjacent frames manually and play the video. One can also use the hotkeys Q and E to go back and forward one frame. One can also select on the specific desired frame by clicking on the spaces between vertical lines along the timeline. Each segmented space indicates one frame. When one hovers the mouse over the space, they should see the number of the frame pop up. The colored line segments correspond to the colors of each of the class tags, and they indicate which frames in a video contain annotations of that specific tag. This can be a good way to track which frames have been annotated, and an intuitive sense of whether the correct tags have been used if there is relevant contextual knowledge regarding this.
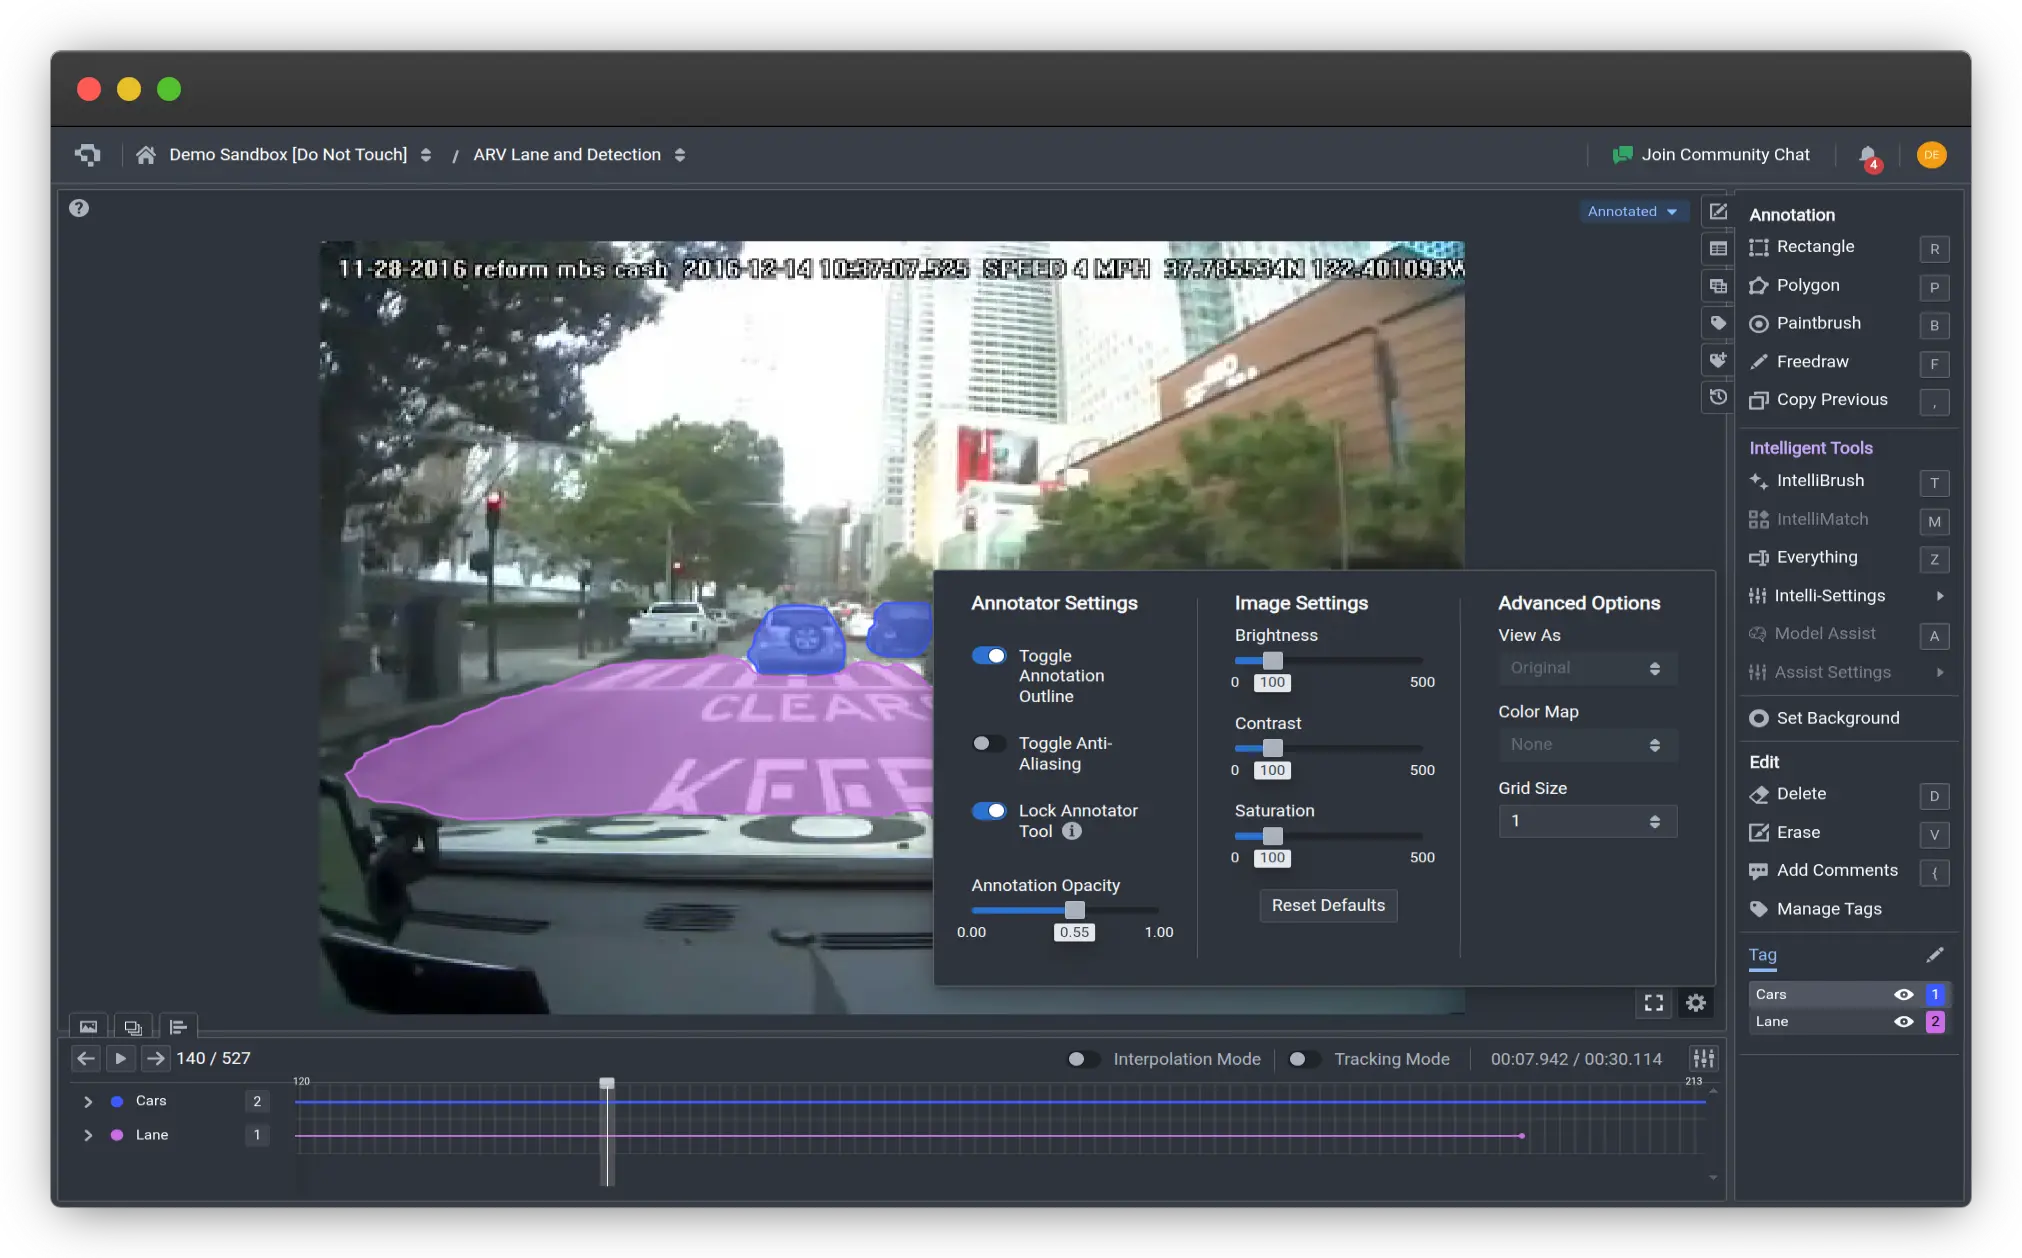
Annotator Settings
Toggle Annotation Outline
When it's on, annotations will have a full opaque border around them to signify the boundary of the annotator.
Toggle Anti-Aliasing
Anti-aliasing toggled off means the image pixels are rendered as is. Anti-aliasing produces an effect that smooths out jagged edges to improve image quality artificially.

Image where anti-aliasing is on
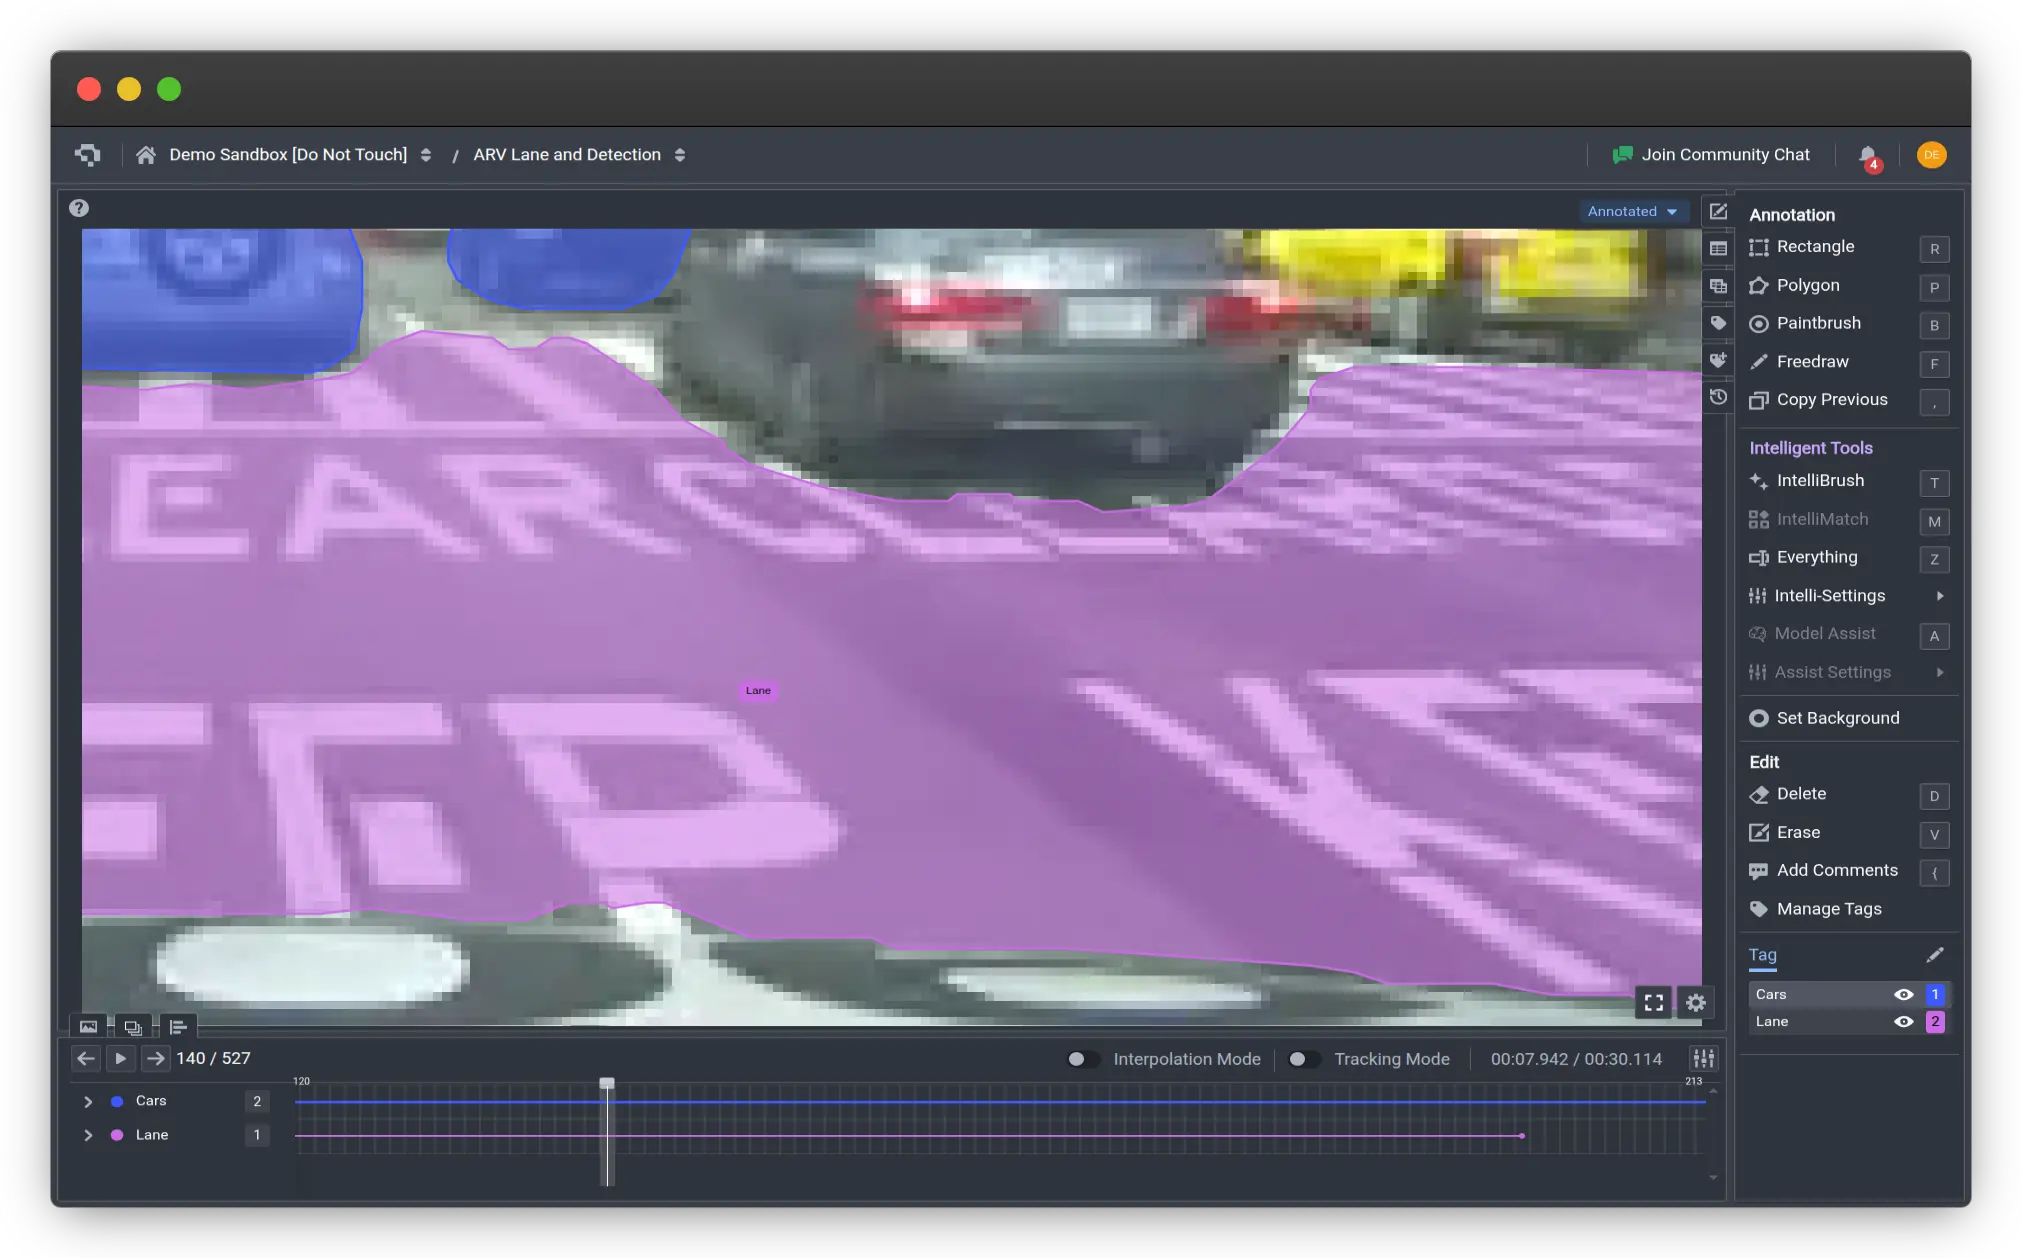
Image where anti-aliasing is off
Lock Annotator Tool
With this option toggled, the selected annotation tool will not be closed and will instead be kept so that users will have to exit the tool instead of automatically exiting after an annotation is created.
Video Settings
This options popup can be found at the bottom right of the annotator, at the top right of the timeline box. It contains two sections, Playback Settings and Timeline Settings.
Playback Settings contains the playback speed on a slider bar as well as additional video playback options such as including sound.
Timeline Settings contains a slider bar for the zoom settings on the timeline below.

We understand that per-frame annotation is a tedious process, and are actively working to provide tools such as polygon interpolation and AI-assisted annotation across frames to speed up this process.
Common Questions
Why are my videos not uploading?
This issue is likely due to insufficient quota for the current month. There will be a limit on the number of images that you can upload per month, based on your current plan. For videos, the quota is calculated based on the number of frames within the video. Your video may be rejected if the total number of frames exceed your remaining quota. Do check out your Usage Quota to monitor your monthly usage. If you would like to increase your quota, do consider upgrading your plan.
👋 Need help? Contact us via website or email
🚀 Join our Slack Community
💻 For more resources: Blog | GitHub | Tutorial Page
🛠️ Need Technical Assistance? Connect with Datature Experts or chat with us via the chat button below 👇
Updated 8 months ago