
Video Frame Selector
What is the Video Frame Selector?
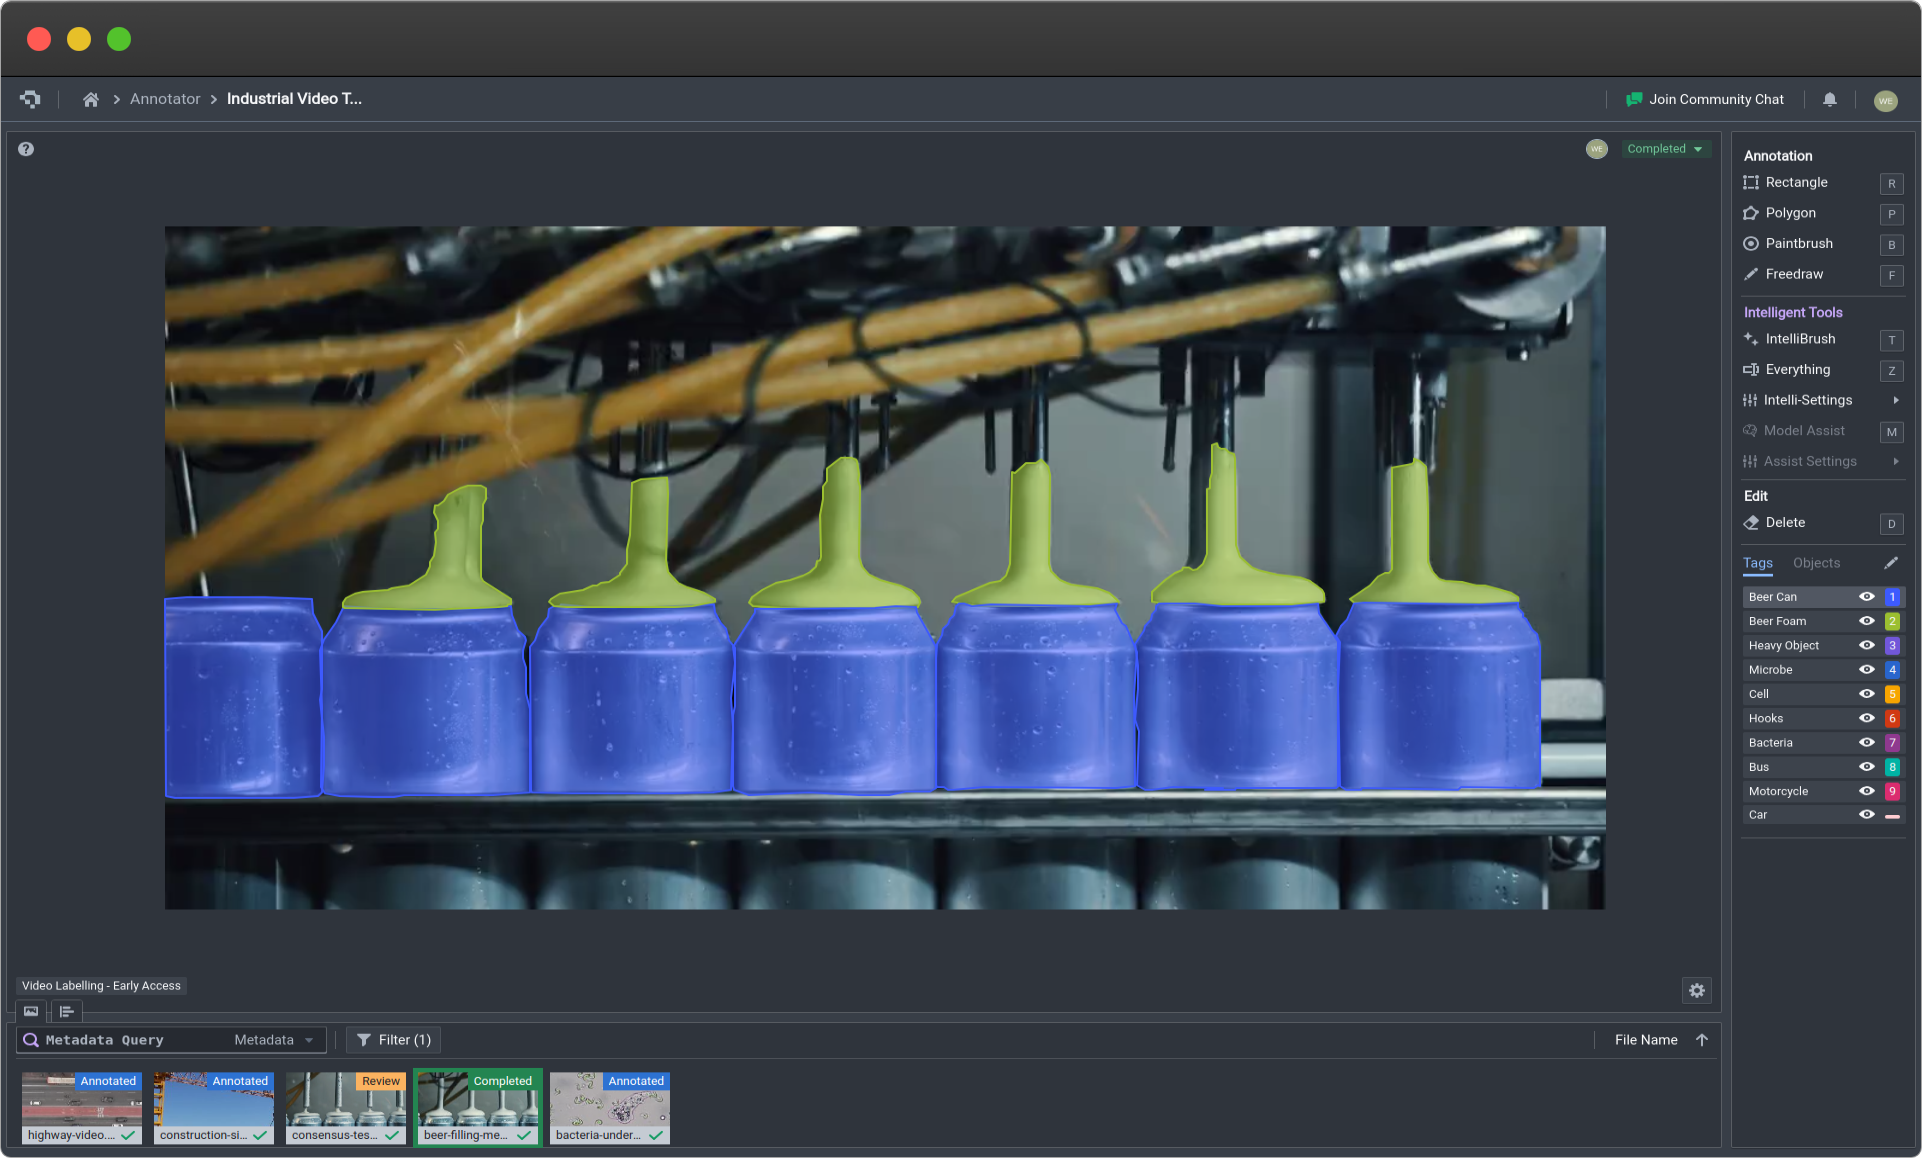
The Video Frame Selector can be found at the bottom row of images in the Annotator. After you have onboarded data and labels, you will be able to select and scroll that data in the image selector. It is designed to help with Creating Annotations.
Video Frame Selector Controls
Selecting Specific Videos
To select a specific video in the video frame selector, click on the desired video thumbnail. The video, together with its annotations, will then appear on the canvas. The selector will then change to display a scrubber of all the video frames of that specific video.
To view other videos, simply click on the image icon at the top left of the video frame selector.
Selecting Specific Video Frames
To select a specific video frame, click on the one of the bars in the timeline.
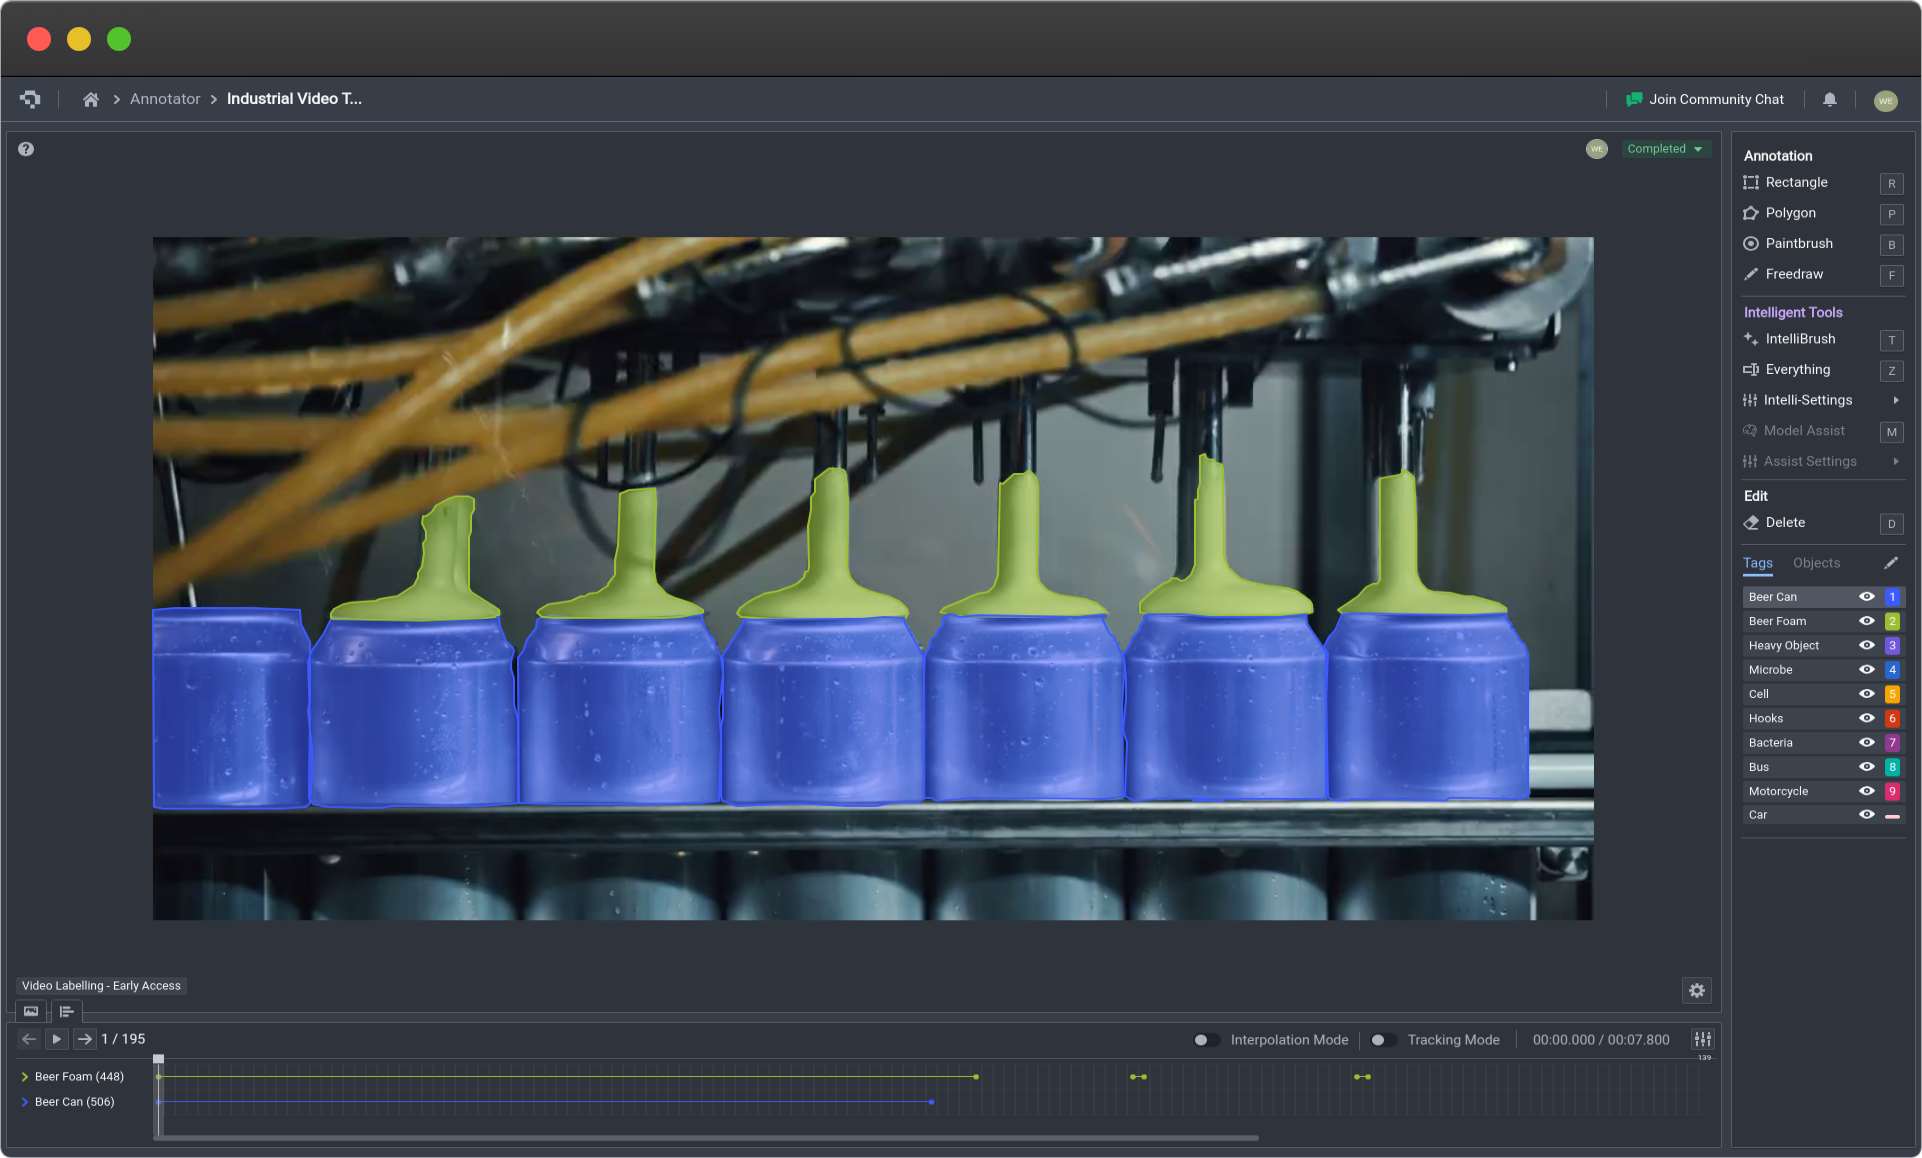
Scrolling Through Video Frames
To view previous or subsequent frames, you can use the keyboard shortcuts q and e to move to the previous or next frame respectively.
Changing Video Frame Settings
Note that these are not image augmentation methods, and will never affect the original dataset. They are simply for your convenience when you are finding areas for annotation.
At times video frames might require annotations that are slightly difficult to find without changing the brightness or saturation of the images. To overcome this challenge, click the settings (gear) icon at the bottom right corner of the annotation canvas, and change the image settings accordingly.
Toggling Annotation Opacity and Outline
Click the settings (gear) icon at the bottom right corner of the annotation canvas. You can also change the annotation opacity using the slider bar and toggle whether the outline appears or not through a toggle switch.
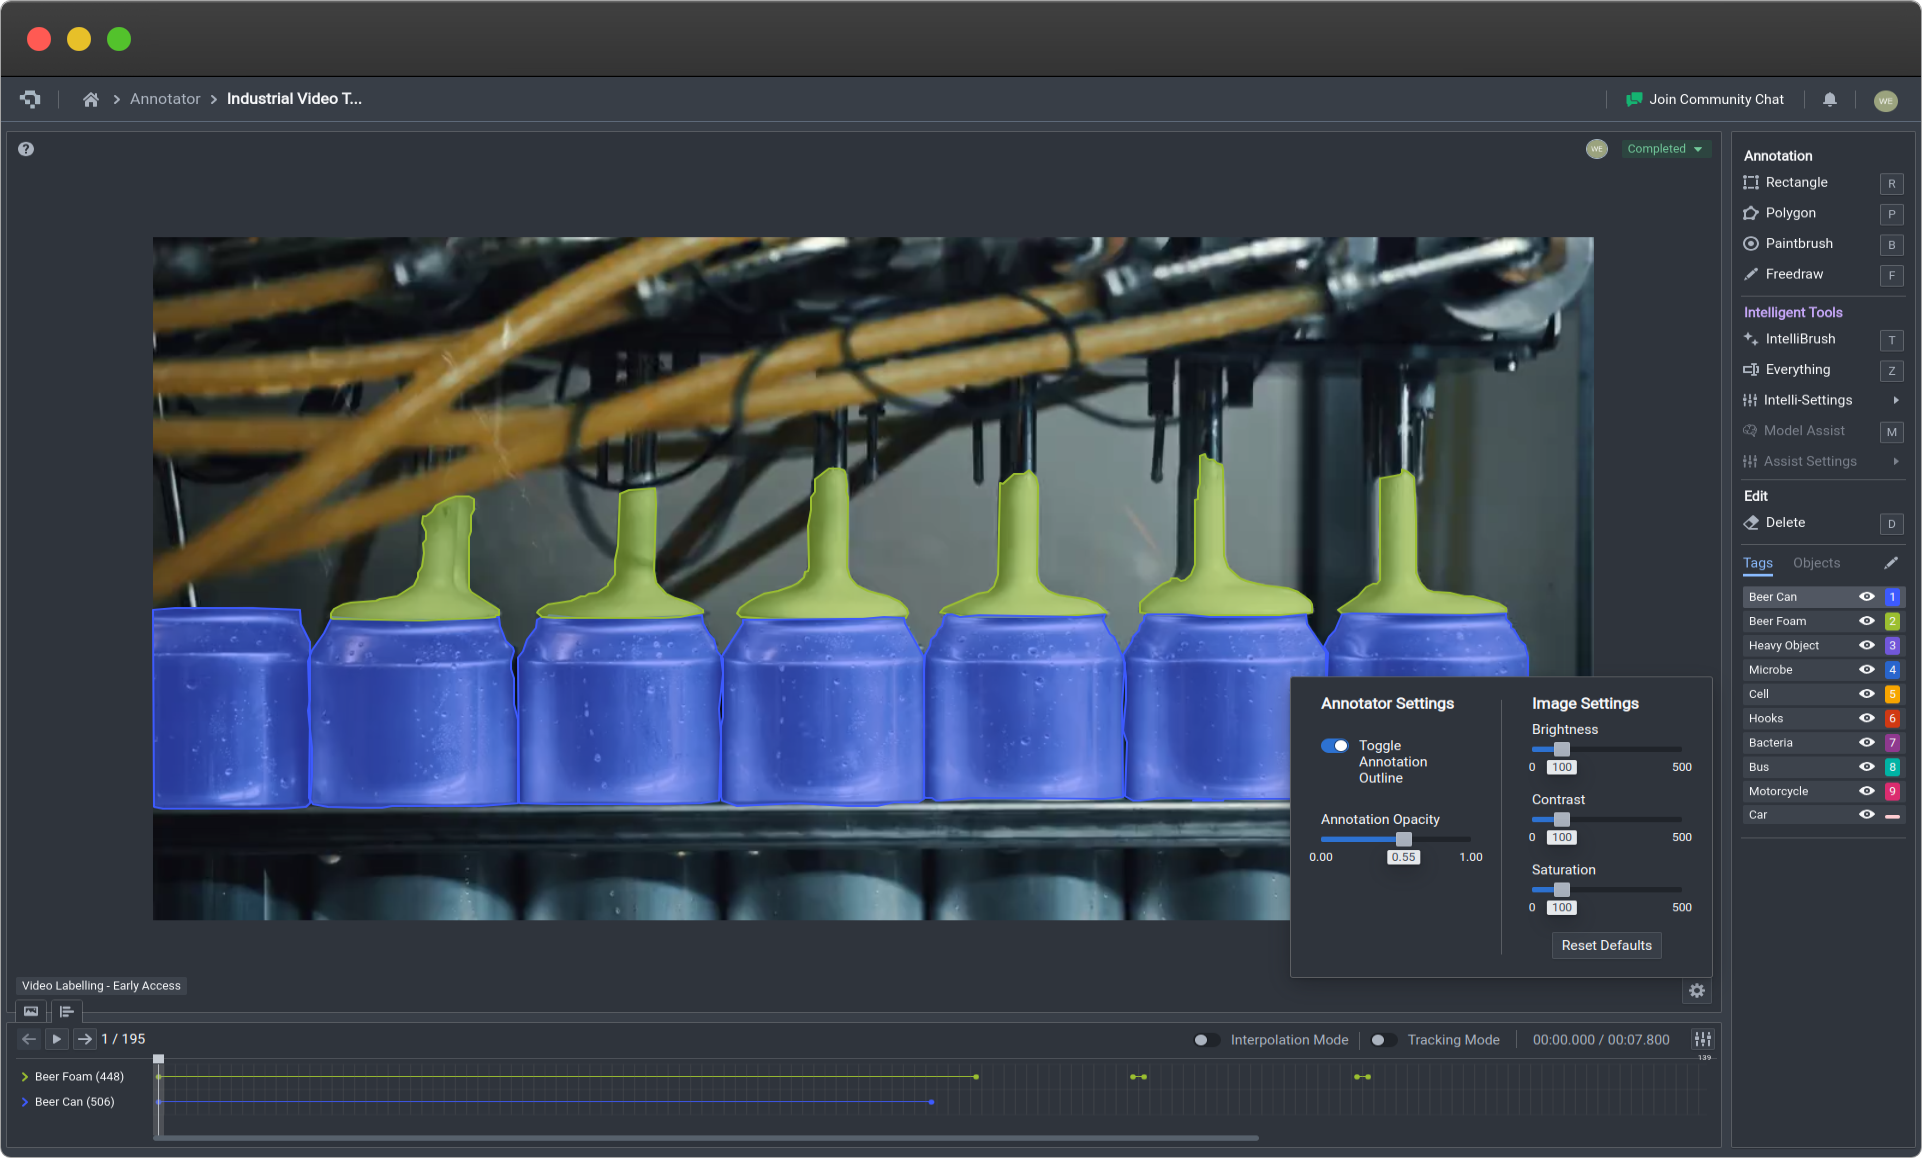
Toggling Annotator and Image Settings (Click image to enlarge)
👋 Need help? Contact us via website or email
🚀 Join our Slack Community
💻 For more resources: Blog | GitHub | Tutorial Page
🛠️ Need Technical Assistance? Connect with Datature Experts or chat with us via the chat button below 👇
Updated 10 months ago