Python Scripts
Prediction Steps
Once you have downloaded the artifact, you can use your own scripts for prediction, or follow the example scripts here to make predictions on new images. If you would like examples of how model inference can be used in interesting ways, you can explore here.
1. Unzip the Downloaded Artifact
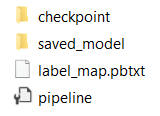
Unzip the artifact that you have downloaded. It will contain model weights, the label map, and other model data. This can vary based on what framework you will use, but for all frameworks, all the necessary components to running your model will be contained here, including the requirements.txt, the corresponding predict.py, as well as a README for instructions.

Unzipped Artifact Folder (Click image to enlarge)
2. Install Required Packages
We recommend that you use a Python package management system such as Anaconda or Virtualenv. Create a new Python environment using your environment manager of choice.
Here, we install the Python packages required to make predictions on new images, using the downloaded artifact.
Note that only Python 3.6 and above are supported currently.
On the command line, navigate to the downloaded artifact folder, and install required packages using pip install -r requirements.txt
If you encounter issues installing TensorFlow, check that your system meets the following requirements:
- Python 3.6–3.8
- Ubuntu 16.04 or later
- Windows 7 or later (with C++ redistributable)
- macOS 10.12.6 (Sierra) or later (no GPU support)
- Raspbian 9.0 or later
3. Run the Prediction Script
Run the predict.py file with the arguments filled out as necessary. These typically include -m for the path to the model, -l for the label map, -i for the data input folder, -o for the output folder, and -t for threshold, and make predictions on new images.
Upon a successful run, the script will
- load the trained model
- make predictions on each image in the input folder
- save predictions to the output folder
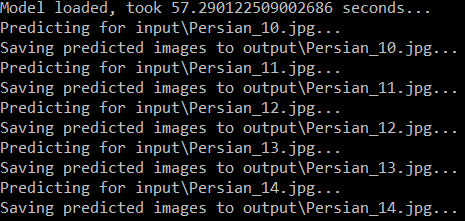
The script will also print logs showing prediction progression. A sample log is shown here.

Sample Prediction Log (Click image to enlarge)
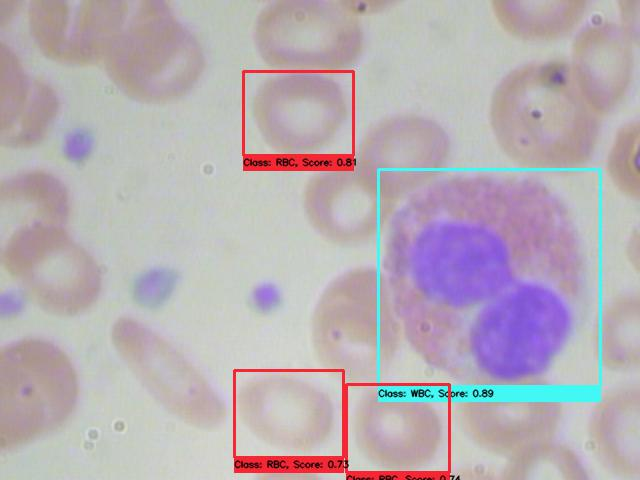
In the output folder, you will find model predictions for each image. The example below shows detected white and red blood cells using an object detection model.

Example Prediction (Click image to enlarge)
👋 Need help? Contact us via website or email
🚀 Join our Slack Community
💻 For more resources: Blog | GitHub | Tutorial Page
🛠️ Need Technical Assistance? Connect with Datature Experts or chat with us via the chat button below 👇
Updated 5 months ago